The Industry Mistake: Why Buyers Still Overvalue η0
On datasheets, η0 is often the first number anyone sees: easy to quote and rank. A higher η0 is then assumed to mean a “better” collector — but that is often incomplete and, in many real projects, misleading.
η0 is the collector’s zero-(line)-loss / optical efficiency near ΔT ≈ 0 between mean fluid and ambient — a starting point only. Real DHW, commercial preheat, and most field conditions spend most working hours with non-zero ΔT, so heat loss to ambient is normal, not edge case.
Comparing at the one point where both look “most ideal” then extrapolating to full-year value is the common shortcut. Project value is built across weather, irradiation, operating T, and load over time — not at a single test point. Commercially, a higher brochure η0 can still mean less annual useful heat if efficiency falls faster as Tm − Ta grows — so ROI and savings follow annual kWh, not a peak headline.
η0 is the beginning of the question, not the answer. A high η0 is impressive on paper — it is not enough to predict full-year useful heat.
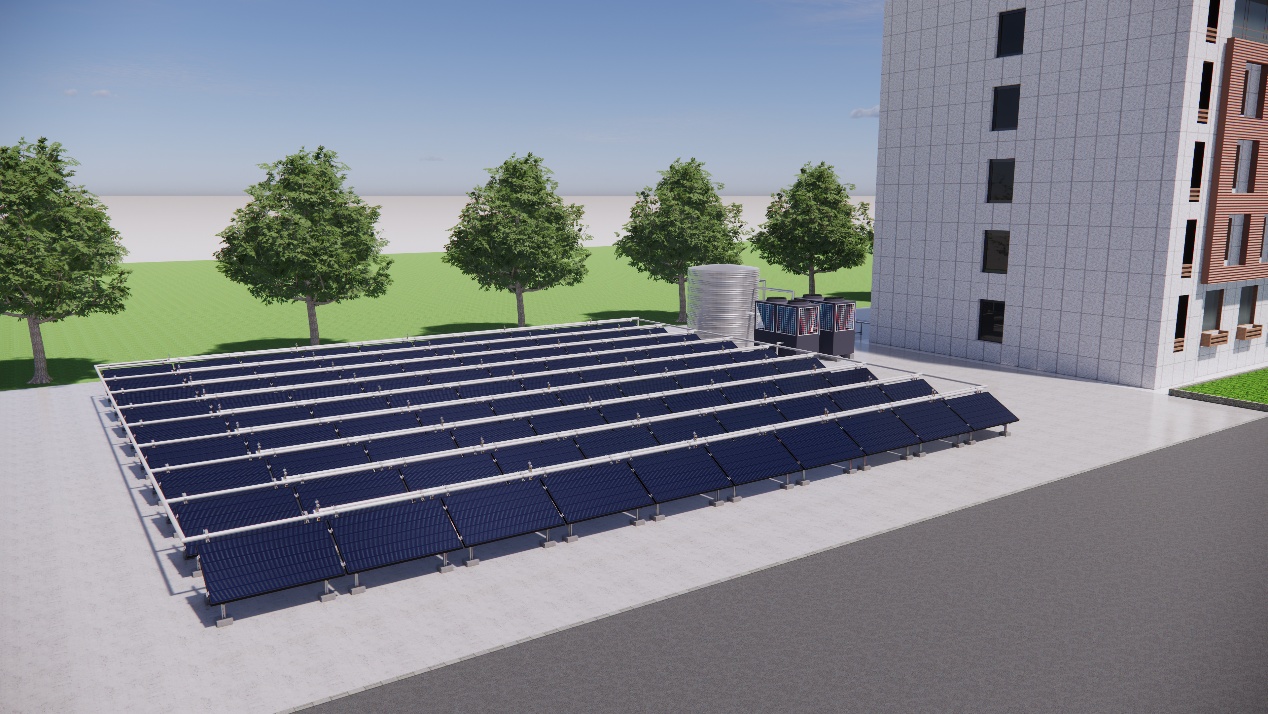
A Real Comparison: When the Lower-η0 Collector Produces More Heat
In one working benchmark, Soletks STK-FPC-2.00 is compared to another flat plate that looks stronger at first: competitor η0 = 0.782 vs Soletks η0 = 0.774. Stopping at η0 suggests the competitor wins. Under annual thermal yield at realistic conditions, the conclusion reverses.
Key set: Soletks η0 = 0.774, a1 = 1.64; the comparison sample pairs higher η0 with a1 = 4.09. That gap dominates once ΔT is no longer near zero. The Soletks Keymark annex gives STK-FPC-2.00 as the thermal basis for η0,b = 0.774 a a1 = 1.64 W/(m²·K).
| Umiestnenie | Stav | Soletks kWh/unit | Competitor kWh/unit | Soletks edge |
|---|---|---|---|---|
| Athens | ΔT = 25 K | 1,914 | 1,701 | +12.5% |
| Würzburg | ΔT = 25 K | 1,536 | 1,371 | +12.0% |
| Davos | ΔT = 25 K | 2,443 | 2,028 | +20.5% |
| Davos | ΔT = 50 K | 1,741 | 1,407 | +23.7% |
The point is not that η0 is irrelevant — it is that a slightly higher η0 can be overwhelmed by much worse loss behaviour at real ΔT. +12% to +24% annual useful heat is large enough to move sizing, savings, and economics. The unit that looks weaker at ΔT ≈ 0 can still win the year.
Why This Happens: The Efficiency Equation in Plain Language
Useful screening reads η0 together with a1 and a2, not one line. The common steady-state / quasi-dynamic form (see EN ISO 9806 context):
Collector efficiency (conceptual form)
η = η0 − a1 × (Tm − Ta) / G − a2 × (Tm − Ta)² / G
Tm = mean fluid temperature, Ta = ambient, G = irradiance. At low ΔT, η0 dominates; as ΔT grows, a1 (and then a2) shape the curve.
What η0 tells you
η0 = starting / optical strength near ΔT ≈ 0 — clean to rank, but real systems move off that point quickly; losses matter as Tm > Ta.
Why a1 often decides field outcomes
a1 = first-order heat-loss coefficient: how fast useful η drops as ΔT increases. STK-FPC-2.00: a1 = 1.64; the benchmark above uses a1 = 4.09 — a higher-η0 line that gives up ground faster in service. Context: many glazed flat plate products in public certification material sit in a roughly 3–6 W/(m²·K) a1 band; 1.64 is well below that band, which lines up with the annual-yield advantage shown.
What a2 changes
a2 matters more as ΔT becomes large — it can create crossover behaviour between products at high temperature. For moderate DHW, a1 is often the decisive term; do not reduce the story to a slogan either way.
What Annual Thermal Yield Actually Measures
Annual thermal yield = useful heat over a full year under defined climate and operating conditions — not one ideal test point. It reflects varying irradiation, Ta, and operating ΔT, so it lines up with ROI and offset questions better than a single η0.
Expression is often kWh per collector, kWh per m², or annual efficiency for a set location. Tools such as ScenoCalc (Keymark / reference methodology context) combine η0, a1, a2 and modifiers with hodinová weather. η0, a1, a2 describe behaviour; annual yield shows what that behaviour produces over time — the bridge to project economics.
Why a1 Matters Even More in Real DHW Conditions
DHW rarely sits at ΔT ≈ 0 for all useful hours. Moderate ΔT is the normal band — that is where a1 exerts continuous influence. A higher η0 with a much worse a1 can bleed performance hour after hour; over a season it becomes commercially visible. For those also weighing technology choice, flat plate versus evacuated tube collectors is a separate discussion — within flat plate, a1 spread is often the immediate procurement lever.
Climate Changes the Answer: Athens, Würzburg, Davos, Stockholm
Athens (high irradiance): even here, the comparison shows 1,914 vs 1,701 kWh/unit at ΔT=25K — +12.5%; sun does not remove the loss penalty.
Würzburg (moderate): 1,536 vs 1,371 kWh (+~12.0%) — retaining performance matters, not only starting high.
Davos (demanding): 2,443 vs 2,028 kWh at 25K (+20.5%); 1,741 vs 1,407 kWh at 50K (+23.7%) — high a1 is punished more in harder conditions.
Stockholm (annex reference): for STK-FPC-2.00, the annex also publishes location yields — e.g. 1,416 kWh/collector at 25 °C mean fluid T vs 2,443 kWh in Athens a 1,536 in Würzburg; at 50 °C mean fluid: 840 kWh (Stockholm) vs 1,741 (Athens) a 913 (Würzburg). Climate is not background — it scales how parameters become kWh. Buyers should ask: which line delivers more useful annual heat in my market? For European deployment, see flat plate solar collector options for European projects.
When η0 Still Matters — and Where the Crossover Happens
This article does not say η0 is unimportant — it says η0 is insufficient alone. In many DHW / mid-T cases, a1 is the more commercially decisive term. η0 still matters when: irradiance is strong and ΔT stays moderate; products have similar a1 (then η0 differentiates); or the application works closer to the optical zone. a2 a crossover at high ΔT matter for process heat and non-DHW — compare at multiple temperature levels, not one average.
What Makes a Low-a1 Collector Different in Practice
A low a1 is rarely one feature — it is usually the full thermal package:
- Izolácia: thickness, density, and integration into the casing — not a sticker on the spec sheet.
- Absorber / selective coating: absorption, emission, and stability under working temperature.
- Internal heat path: riser layout, bonding / welding, and thermal contact from absorber to fluid.
- Manufacturing consistency: the report is one batch; OEM and project supply need repeatable build quality across shipments.
For the Soletks flat plate collector product line, start from specs and Keymark annex data. For a broader supplier framework beyond a single a1, use the solar thermal supplier evaluation guide.
A Better Buyer Rule: How to Compare Flat Plate Collectors Properly
- Rule 1 — Do not stop at η0.
- Rule 2 — Read η0, a1, a2 together.
- Rule 3 — Compare annual yield in the right climate and mean-temperature / ΔT story.
- Rule 4 — Split logic for DHW vs high-T (crossover / a2).
- Rule 5 — Ask for useful heat, not a headline only.
| Buyer question | Better focus |
|---|---|
| Which starts strongest? | η0 |
| Which loses heat more slowly in service? | a1 |
| What if ΔT is high? | a2 / crossover |
| Which is better in my market? | Annual yield, right climate |
| Which supports project value? | kWh over time |
Conclusion: Compare Useful Heat, Not Just Peak Optics
The market is full of comparisons that start and end on η0. Stronger logic: η0 as entry, a1 / a2 as the curve, annual yield under relevant climate and application. For Soletks, the story is that lower loss behaviour (e.g. a1 = 1.64 in the STK-FPC-2.00 basis) can translate into more annual kWh than a line that only wins the headline — connecting physics to project value. The productive next ask is: show annual yield for my market and conditions — that is where better decisions start.
Next: annual yield for your market
OEM, distribution, or project: request climate-based kWh a Keymark-backed parameters.
Annual yield comparison
Compare lines for your target climate and load — model match and technical review.
Request annual yield comparison →Engineering consult
Collector choice, location kWh, or OEM parameter matching with the factory team.
Talk to engineering →Data & samples
Datasheets, Keymark annex references, sample paths for channels and developers.
Request data & samples →Email: export@soletksolar.com · service.soletksolar.com/contact
Frequently Asked Questions
Why is η0 not enough?
η0 is strong near ΔT ≈ 0. Real systems live at higher ΔT most of the time — a1, a2 then dominate useful output. A higher η0 with much higher a1 can lose the year.
What is annual thermal yield?
kWh of useful heat per collector (or per m²) per year for defined climate and operating temperature — closer to ROI than one lab point.
How is it calculated?
Typically via tools like ScenoCalc-style workflows in the Keymark world: η0, a1, a2 + weather + operating assumption → hodinová integration to annual kWh.
What does a1 mean in practice?
First-order loss: how fast η drops as ΔT increases. Lower a1 usually means more retained performance in real DHW and preheat.
Can lower η0 still win annually?
Yes — e.g. 0.774 with a1=1.64 vs 0.782 with a1=4.09 in the example: Soletks leads +12% to +24% in shown annual comparisons depending on site and condition.
Does climate change the gap?
Yes. Colder or higher-ΔT regimes tend to amplify the cost of a high a1. Always use location-appropriate yield.
When does η0 matter most?
When a1 (and a2) are similar, or when the application stays closer to the optical / low-ΔT zone. η0 contributes to annual yield — it should not be the only number.